Friday, 16 December 2011

some other wedding projects with templates

If you are getting married, you need to check out Vistaprint.  I got so many free things for our wedding day.  Here are a few things we ordered..... 

Lawn Signs - we used our monogram text/colouring for these and put them out to direct people to our ceremony site. 


Interested in the template?  Send me an quick email and I'll get it off to you.  paperjoli@yahoo.com


Photographer List of Shots - a good list of all the shots we wanted to capture! You can find it here.

Thank You Banner - a great banner to take a photo with and use for your thank you cards.  Again, ordered it for free at vistaprint. 

If you would like the free template, you can find it here


Thursday, 15 December 2011

Sandal Basket & Tags

We had a sandal basket so everyone could switch out of their heels and into some comfy flip flops.


If you are interested in the template for the tags I used on the sandals, you can find it here.

Saturday, 19 November 2011

personalized water bottles - wedding

Well, it turned out to be a cooler day than we would have hoped for but perfect for us.  We decided to have personalized water bottles at the ceremony and reception.

They looked great and were super easy to do.  All we did was:
-  Remove old labels from bottles
-  Create the label  If you want to copy ours, you can find the free template here.
-  Cut them out
-  Cut packing tape the right length
-  Stick onto the bottle


Loved how these turned out! <3


Wednesday, 2 November 2011

wedding stationary - invitations

Wow, wedding invitations ended up being a HUGE project.  At first, I thought I wanted to purchase a template but then I decided to get creative and design the darn things.  We got so many compliments on them and I think we have Cards & Pockets to thank for that.  Their pocketfolds and printing is beautiful and they are so easy to work with.  Best part, their prices are actually affordable! 

Here's what ours looked like...


We did a custom map and wrap around labels, which I thought were the coolest thing ever!  I found out afterwards that you can order custom stamps here. 

I decided after I put so much work into them, that I would pop them up on etsy and sell the template in case anyone was looking for something similar.  You can check them out along with a few other designs here. 


Wednesday, 12 October 2011

personalized wedding - monogram

One of the first things I worked on while wedding planning was a personalized monogram.  It was lots of fun to create once I knew our colors. 

If you are interested in a high resolution copy of this monogram customized for you, please send me off a quick email and I should be able to send you one.  paperjoli@yahoo.com


Saturday, 10 September 2011

best.day.ever

I'm going back in time a bit to my favorite day ever - July 9, 2011 and oh my goodness, it's so fun to relive.  We were married outside on the steps of a historical mansion and were lucky enough to pick the day that the inside was also open to visitors so they allowed us to take photos inside.  It was AMAZING.  I so badly wanted a 'bathtub' photo and we got it!

I thought when they said 'rain is good luck on your wedding day', they are just trying to make you feel better but now I'm hoping it's true!  Someone was watching out for us.  The start of our ceremony = umbrellas up.  The end until we finished 3 hours of formals and photos = SUNSHINE!


Our reception was held at a theatre and some may have said that 'barney blew up' in there but I don't care.  I wanted it to be colorful, bright, and memorable.  I think we achieved it!

Wedding planning was a ridiculous amount of work and I'm so thankful for all the people who helped us make it perfect for us.  I have absolutely no regrets and never want to do it again. <3

wedding centerpieces

I spent a ton of time researching wedding centerpieces and trying to figure out what I wanted.  I knew I wanted them to stand out.  I wanted tall vases and I wanted to really use lighting to draw attention to the tables.

I thought I'd share what we ended up with and how I made them in case you are looking for some inspiration!

First thing I did was find the vases - look everywhere, seriously.  Ours are almost 2.5 ft tall.  We got them on sale at XS Cargo which I have to say is the most random place but they were a great deal!

Make sure you wash them with super hot water and soap.  Any clear glass vase you can really see the dust and fingerprints.  My mom had a huge job washing out 25 vases.... I am thankful!


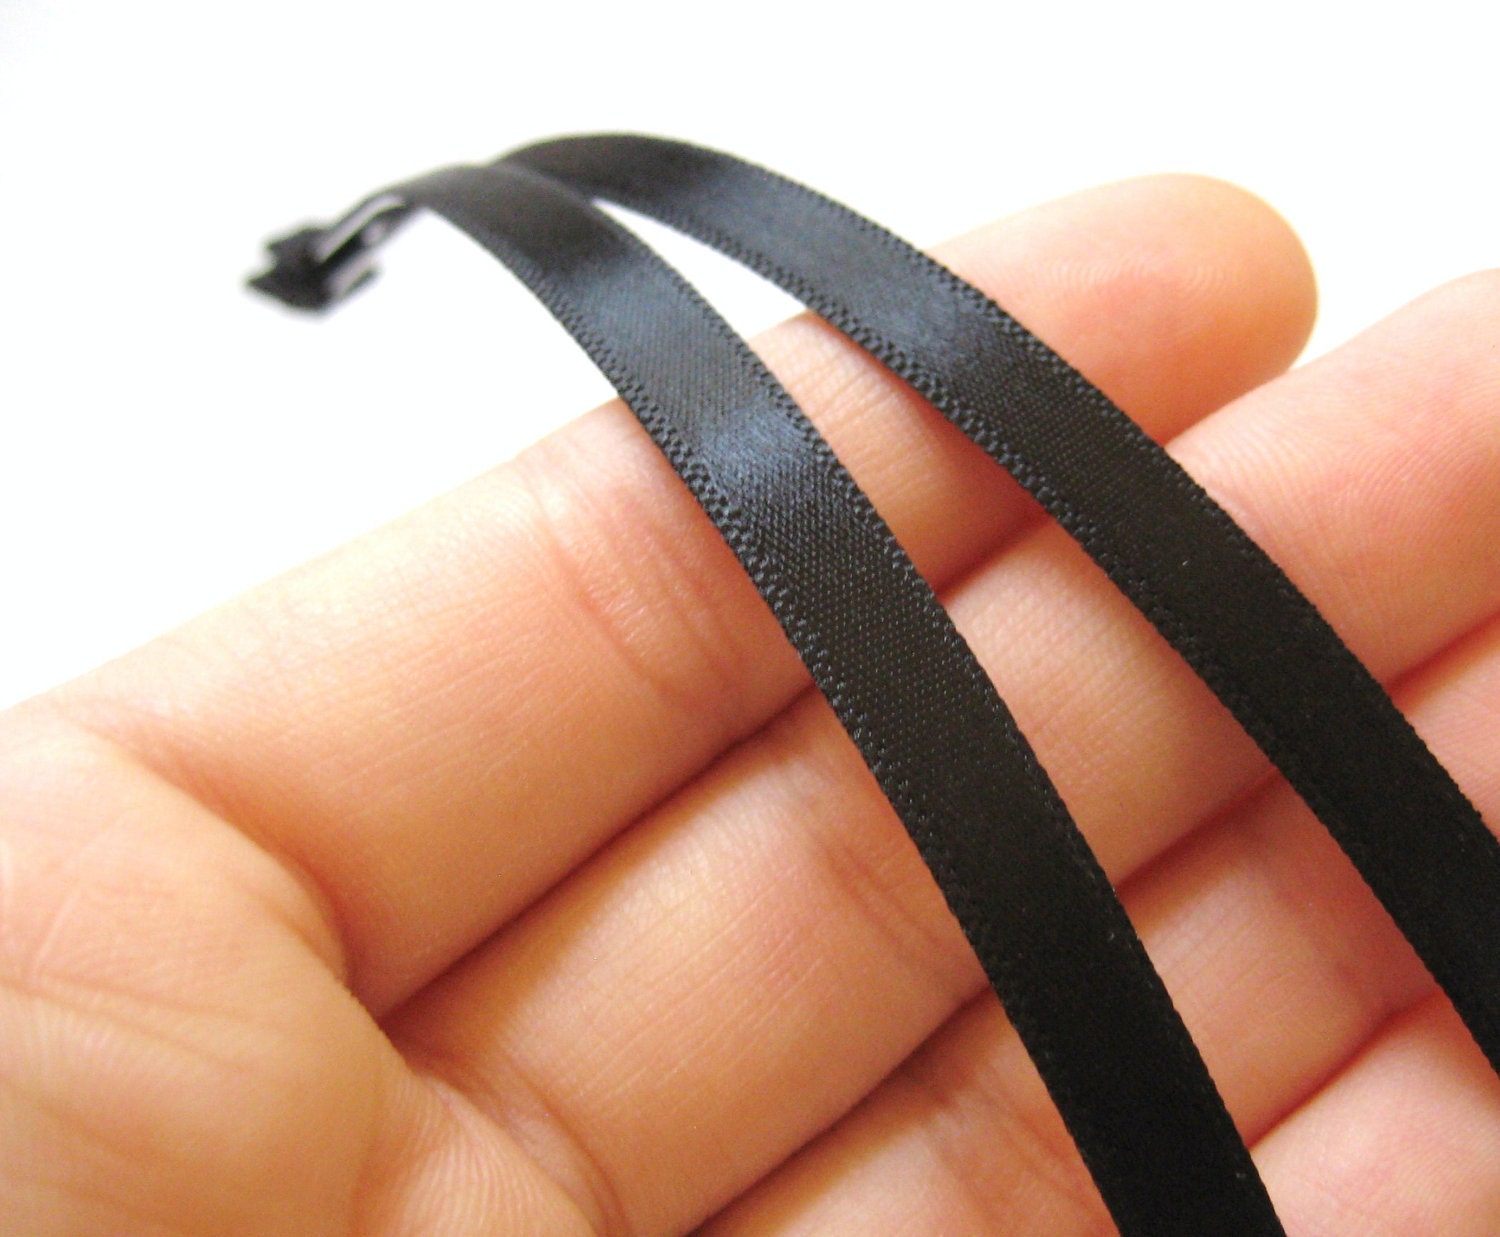
Then we used thin black ribbon and double sided tape and lined the top of the vase.


 In the bottom of the vase, I filled it with about 8 inches of clear water beads.  I bought them all from Michaels and made sure to use a 40% off coupon - found here.  Basically I got a huge bucket, poured all the water beads in and mixed in the water.  I let them sit overnight.  In order to get the beads into the newly washed vases without splashing all over the sides, I used a long wrapping paper roll with a funnel on top - worked perfectly!  (To fill 25 vases, I used about 6 of the large packs of beads)

Once the water beads were ink, I put in a single flower.  I used fake ones but real ones would have been beautiful.  I used a variety of white, green, and eggplant.  Again, a lot I found on sale at Michaels or used a coupon.

Last thing was the lighting.  I wanted it to be fairly bright, so I bought submersible lights in white and purple (though I would recommend white as they are brighter and the purple really isn't very noticeable).  The cheapest I found were at Michaels with the coupon.  (I shopped A LOT at Michaels). 


 So while testing, I decided that about 5 lights submerged in the bottom water beads let off a decent amount of light but I still didn't get the shine that I wanted.  So I cut out 25 round circles of black cardstock that sat perfectly on top of the vase (as was kind of hidden by the black ribbon lining the edges) and used double sided tape/fishing wire to adhere one light to each circle.  When you put this on top of the vase and turned the light on, I got exactly the look I was going for.  So a total of 6 lights per vase.

Keep in mind the lights do run out, so you want to make sure that someone twists them on and pops them in just before your guests arrive.  We put some tealights surrounding the vase and a few other table items/games which I talk about in another post here.

And now, the final product!